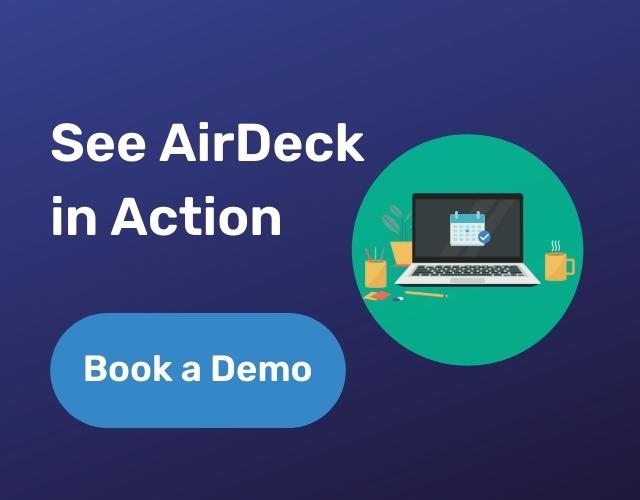


Are you tired of repetitive tasks and redundant meetings? Transform them into asynchronous experiences that save you time and result in more connected and aligned conversations and more clarity. Our goal is to allow you to be in many places at once without the hassle of coordinating schedules.
In this blog post, you’ll learn how to harness the power of AirDeck in six easy steps. Let’s get started!
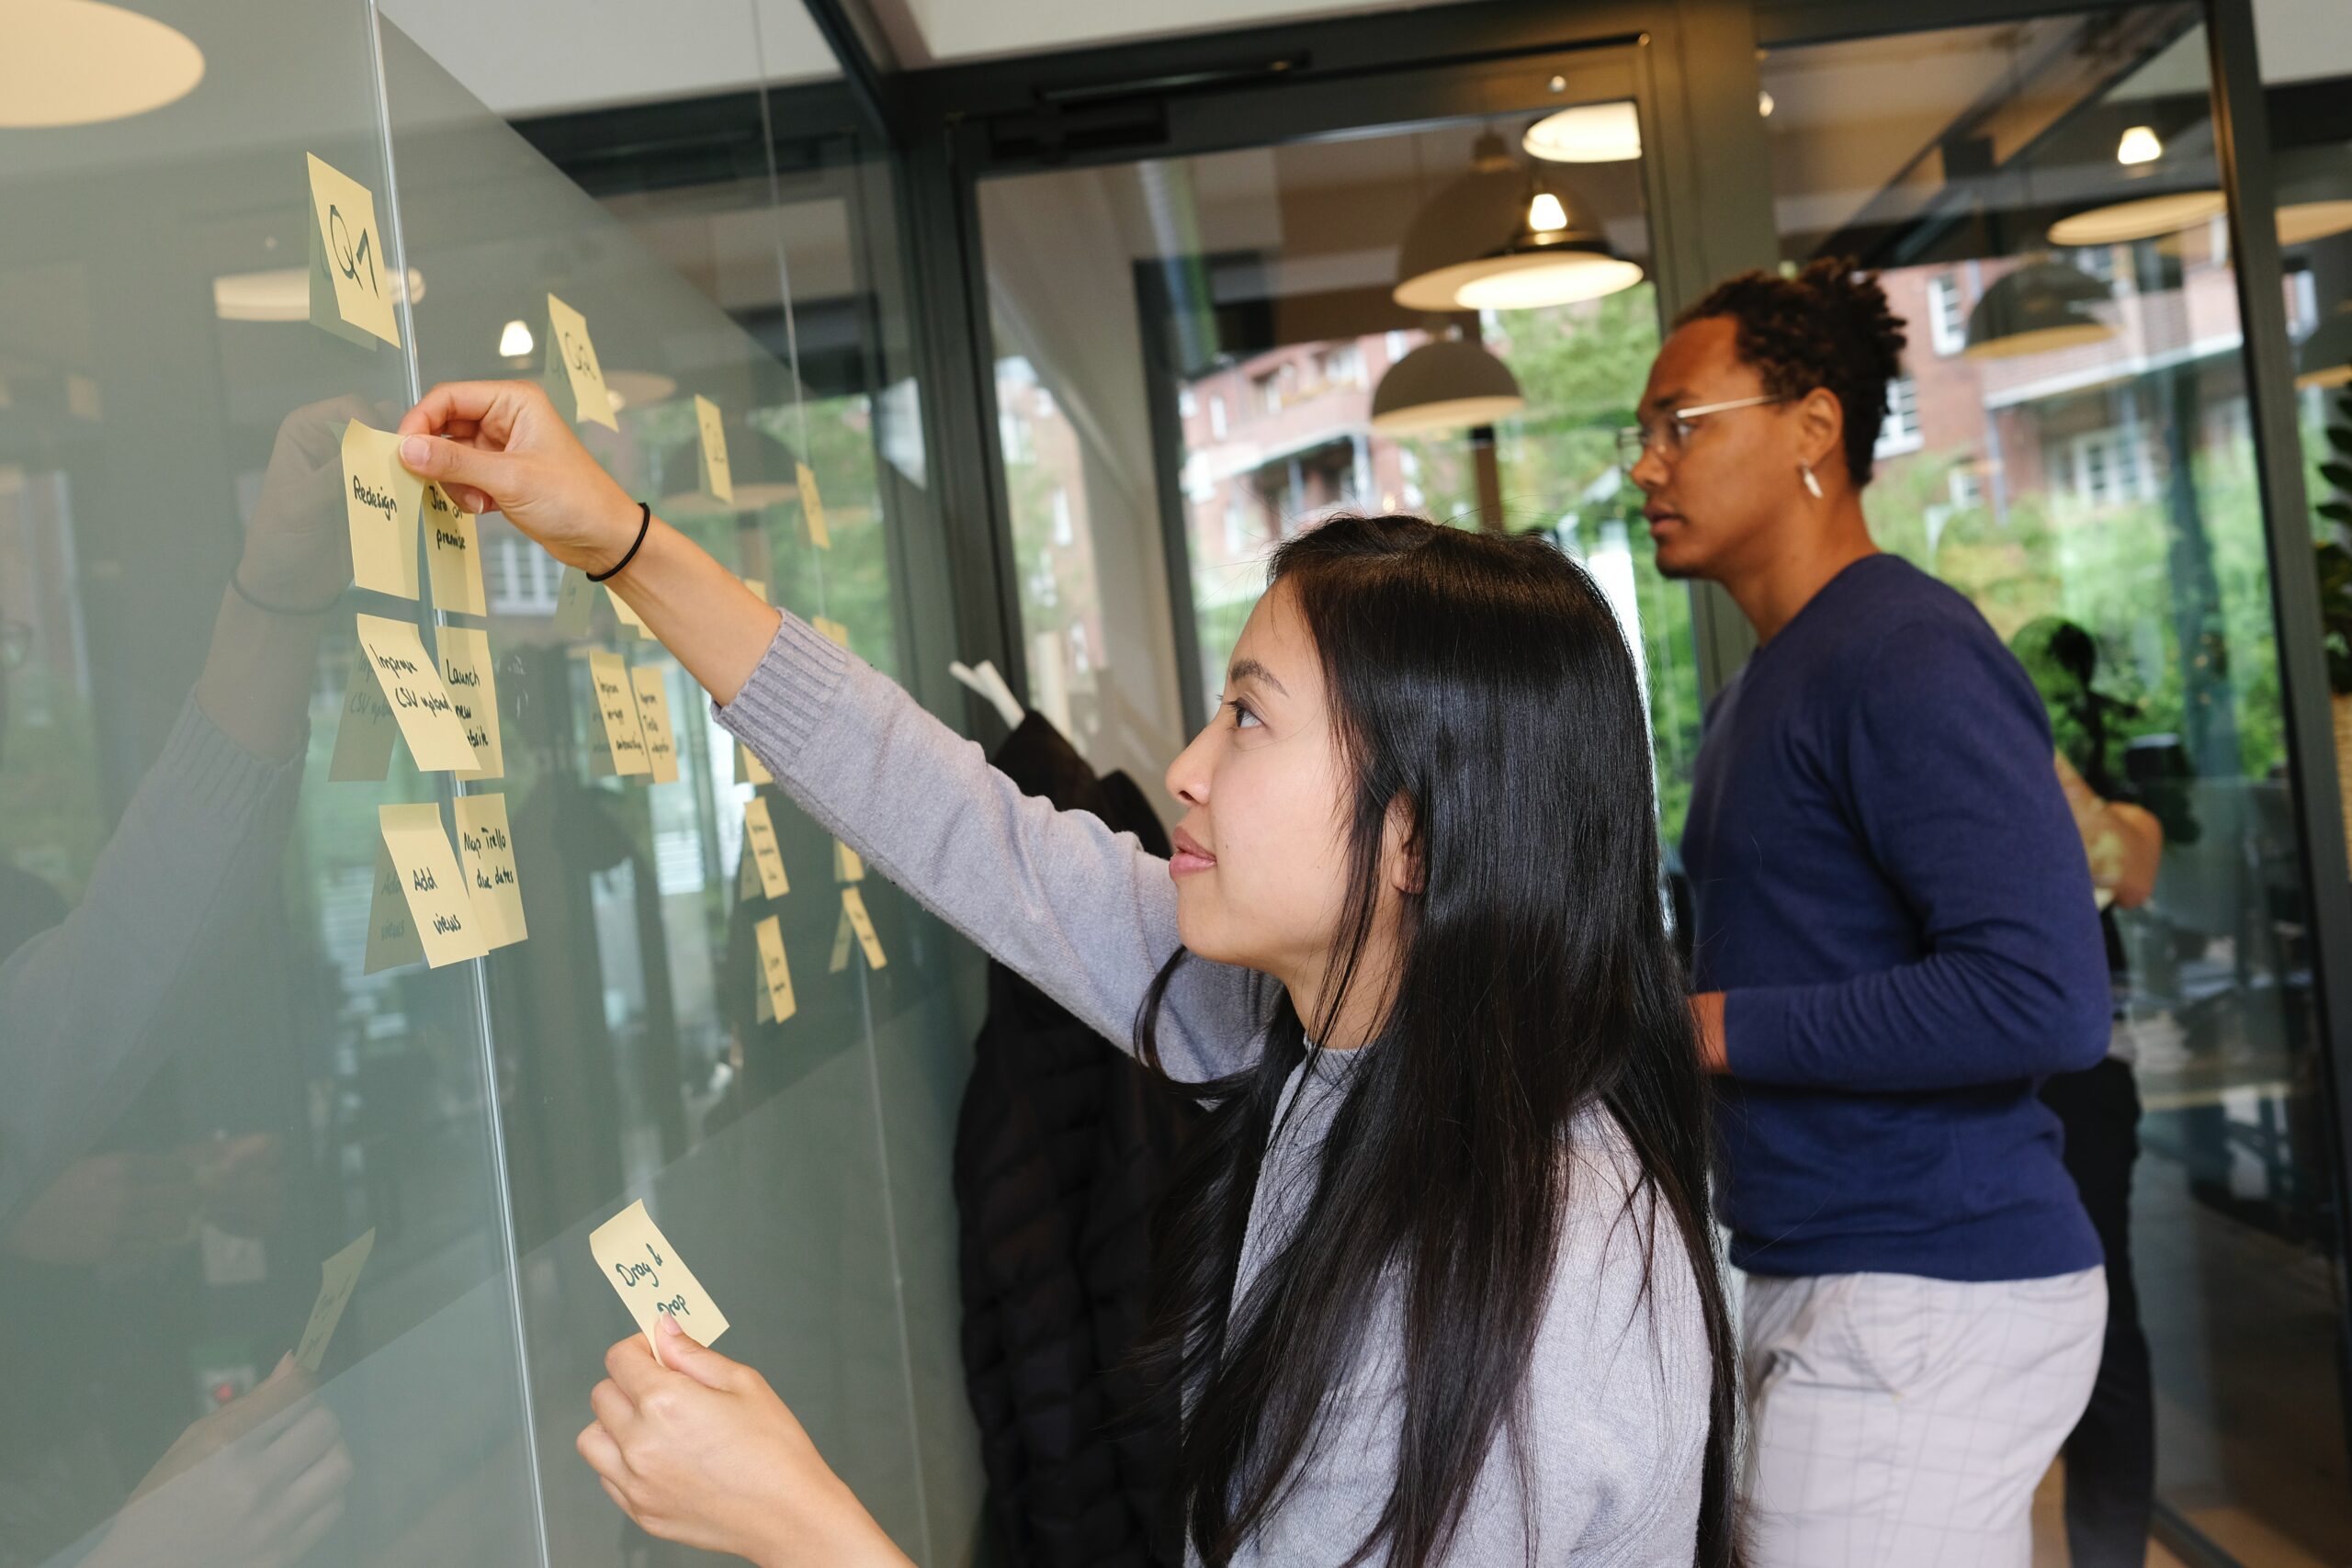
1. Make a list of redundant tasks and meetings
Clients that see the most success with AirDeck use the platform to transform redundant tasks and meetings into asynchronous experiences. Here are some examples:
- Customer or employee onboarding
- Sales prospecting decks/pitches
- Sponsorship proposals
- One-pagers
- Complicated document explanations
- Training and enablement
Do you have any tasks like these that pop up regularly? Another way to think about it is to take stock of any documents you regularly send with lengthy email explanations. Write down your redundant tasks, meetings, or documents you send often.
2. Decide which tasks may benefit from an asynchronous approach
Take a look at your list and decide which tasks would make the most sense to transform into on-demand experiences. Could you send an employee or customer onboarding deck ahead of time and reserve your meeting time for questions? Could you reach more company prospects “up the chain” if your sales proposal literally spoke for itself? Could you record a voiceover to walk clients through a complicated document before you meet with them?
Most AirDeck customers realize they can turn some meetings into more engaged conversations if they communicate all necessary items in an asynchronous format first.
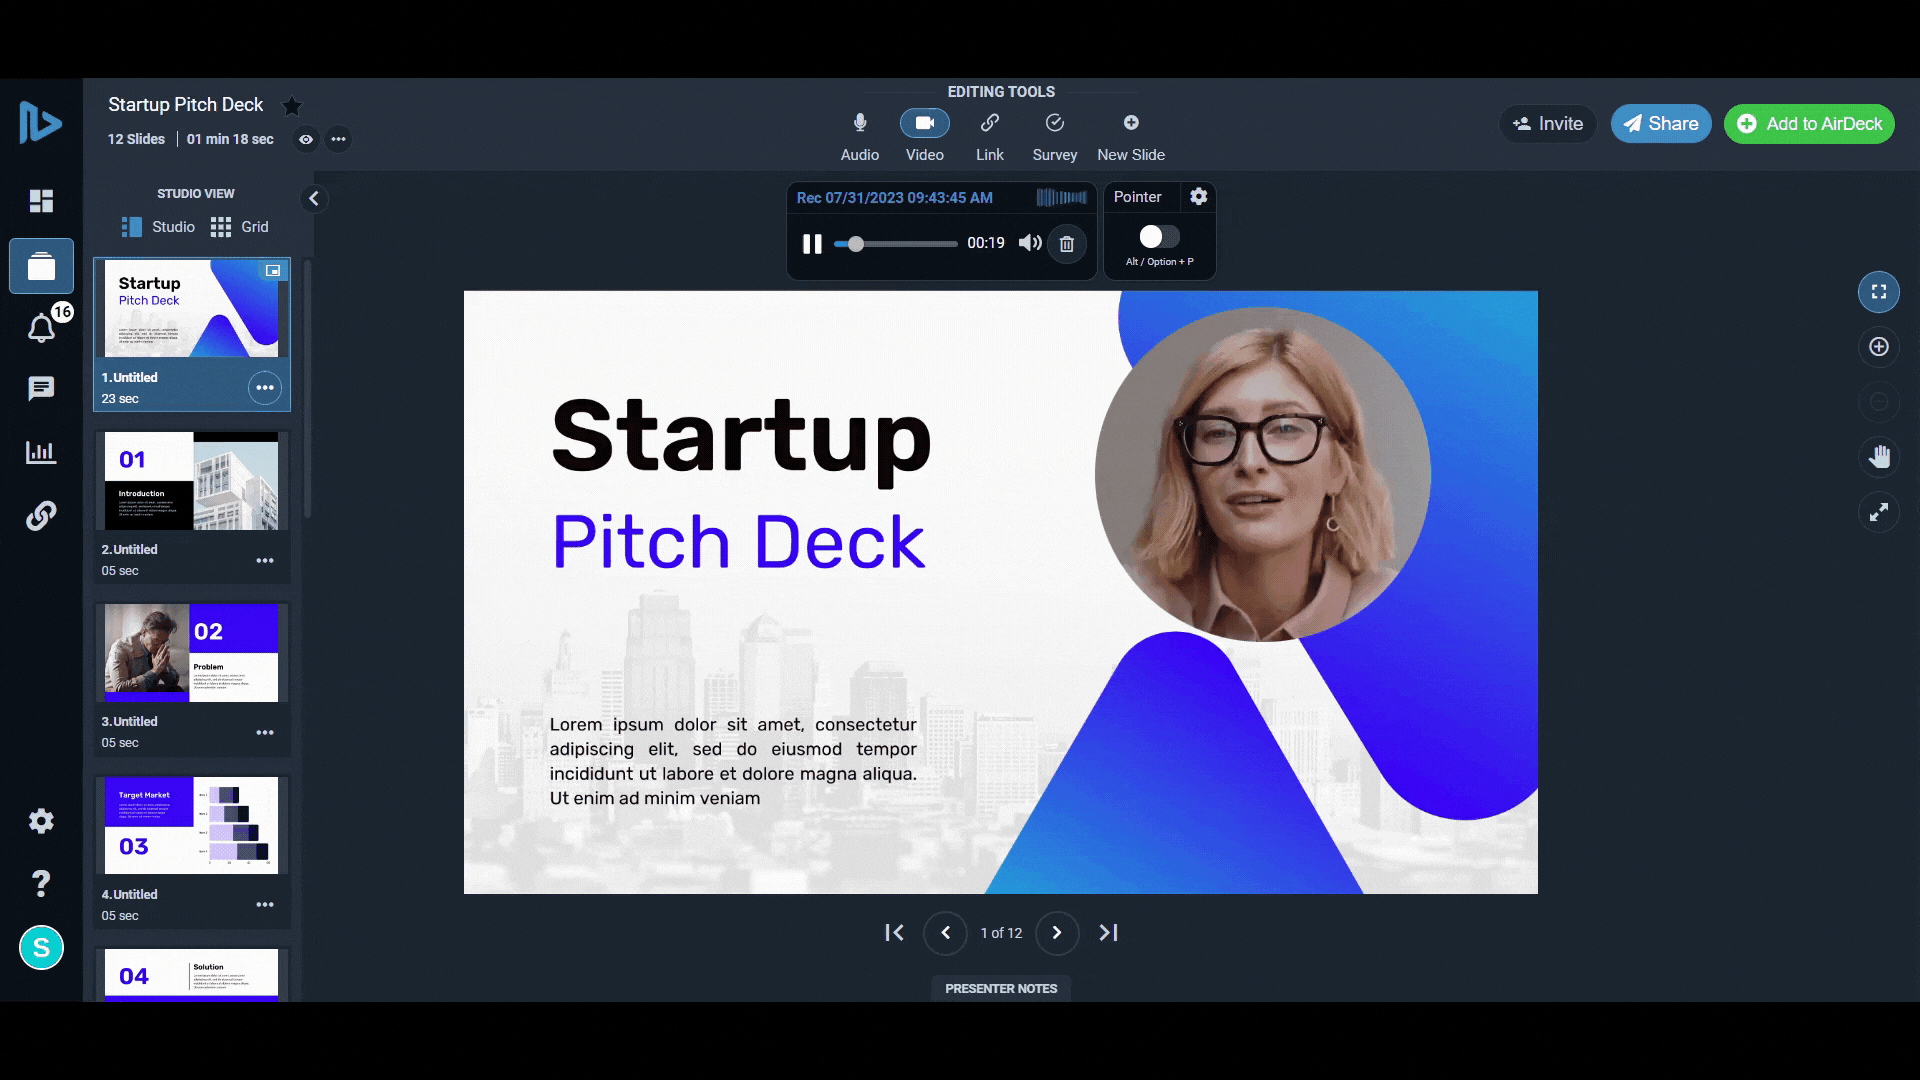
3. Upload your content, then record audio or video voiceovers
Once you decide which items on your list make the most sense to transform, you’re ready to get started in the platform. Our clients usually have existing documents to work with, which is great! But, if you don’t, it’s a great opportunity to look through your Google slides, Canva decks, or your favorite content creation platforms (AirDeck supports over 120 file formats) and create or choose content.
Then, simply upload those documents or decks and record your voiceovers. Because AirDeck has a modular format, it allows you to record new or upload existing individual voiceovers to each page or slide. This makes it easier and faster to re-record to fix a mistake or make an update. You can also trim your voiceovers on the front and back-end to delete any dead air.
Many of our clients choose to just record audio voiceovers to their content. This definitely enhances the content and gets the job done. But, to create a more human connection, we like to encourage our customers to play with video overlays too.
4. Increase engagement with additional features
In addition to audio and video voiceovers, AirDeck provides a few more engagement features so you can add even more context and clarity to your content.
One way to increase engagement is to create survey slides right in your deck. You can record audio alongside your questions to add greater depth to your survey. Choose to make your survey responses mandatory (or optional) before the viewer moves onto the next slide. This is a simple way to get the inside scoop directly from your viewers.
If you want to add even more clarity to a document, use the laser pointer feature to walk through specific points on your document. You can add this feature during or after you record your voiceover. Plus, you can add screen recordings to your content to reduce ambiguity or confusion.
5. Send with a sharable link and track opens and engagements
Once your AirDeck is complete, you’re ready to share it! Grab your “quick share” link and send your content without worrying about the file size. Share your creation to social media directly from the platform, or embed it on any website, blog, or anywhere else you can post code. Plus, your documents are stored in the cloud which allows easy accessibility at any time to make updates, even after you’ve sent the link.
Don’t forget you can also create a custom sharing link with different permissions for each viewer—and you can revoke or change these permissions at any time. Feel free to add passwords to your decks to keep them safe, or create separate passwords for each link to ensure maximum security.
Once you send, check your slide-by-slide analytics to track every second of every view. See how your viewer interacts with your content in real-time, e.g., when they opened it, where they clicked, how many times they viewed it, etc. Your analytics dashboard keeps track of all of your views, contacts, and surveys so you can compare deck performance and track overall engagement over time.
This empowers you to understand your viewer, so you can tweak and edit your content to improve their experience over time. Plus, you can have even more effective conversations with your audience based on who viewed and engaged with the content and who did not.
6. Personalize at scale
The power of AirDeck really shines when our customers are able to easily duplicate projects and personalize at scale.
For example, create one, high-quality presentation. Then, use AirDeck’s slide-by-slide editing option to keep your standard content in place but swap out a few select slides to make the presentation a custom fit for each prospect/customer/employee, etc. You can also record new audio or video voiceovers where needed (like the intro and conclusion).
You can do this in a matter of minutes. The ability to personalize at scale is a game changer because it allows you to be in many places at once without the hassle of coordinating schedules.
Scale your content without losing the personal touch
Now that you are armed with these six steps, go forth and reduce your redundant meetings, have more connected and aligned conversations, and add more clarity. Not an AirDecker yet? Get started! If you have additional questions, let us know.